To make a wooden frisbee, start by selecting a lightweight wood and cutting it into a circular shape. Next, sand the disc to create a smooth, aerodynamic edge.
Crafting a wooden frisbee combines the joys of woodworking with outdoor recreation. Whittling a disc from wood not only provides a personalized twist on a classic game but also introduces a unique challenge for DIY enthusiasts. Creating your own spinning wooden disc offers a satisfying project that goes on to provide endless entertainment.
Whether for a casual game in the yard or a customized addition to a disc golf set, a wooden frisbee stands out for its natural aesthetic and handcrafted quality. This project appeals to eco-conscious players and hobbyists looking to carve their mark in the world of sustainable sports gear.
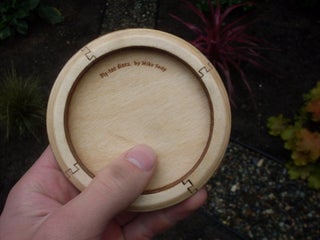
Credit: www.dgcoursereview.com
Choosing The Right Wood
Creating a wooden frisbee is a fun project that combines craftsmanship with outdoor play. The first step is essential: selecting the right type of wood. Wood choice affects the flight and longevity of your frisbee. Opt for a suitable species to ensure an ideal balance between weight and durability.
Comparing hard and soft woodsComparing Hard And Soft Woods
The choice between hard and soft woods is paramount. Hardwoods, like maple and oak, offer strength and resistance to wear. Softwoods, such as cedar and pine, are lighter and easier to work with. Here’s a brief comparison:
| Hardwoods | Softwoods |
|---|---|
|
|
Considering Weight And Durability
Weight and durability will influence a frisbee’s performance. A heavy disc may not fly well, while a fragile one may not withstand impacts. Choose wood that strikes a balance. Consider these aspects:
- Avoid overly heavy woods that may ground the frisbee
- Seek out woods known for resisting cracks and splits
- Consider the wood’s ability to maintain shape over time
Walnut or cherry could be great options, offering both a moderate weight and high durability. Kiln-dried woods are also preferable as they contain less moisture, meaning lighter and more consistent performance.
Designing Your Frisbee
Crafting your own wooden frisbee combines art with science. It’s not just about creating something that looks cool; it’s about making a frisbee that flies! Follow these steps to plan a wooden frisbee that’s both aesthetic and aerodynamic.
Planning The Dimensions
To start, you’ll need to decide on the size of your frisbee. Standard frisbees measure about 8 to 10 inches in diameter. Use precise measurements to ensure a balanced throw. Keep the weight in mind too – around 175 grams is typical.
- Frisbee Diameter: 8-10 inches
- Thickness: 1-1.5 inches
- Weight Goal: 175 grams
Balancing Aerodynamics And Style
Your frisbee’s design isn’t just about looks; it must also be functional. A sleek, rounded edge helps reduce air resistance. Symmetry is key for a smooth flight. Here’s how to balance the two:
| Feature | Aerodynamics | Style |
|---|---|---|
| Edge Design | Smooth, rounded | Can include engravings |
| Weight Distribution | Evenly balanced | Finish and paint for flair |
| Surface | Flat for lift | Wood grain visible |
- Shape edges for minimal drag.
- Balance weight across the disc.
- Choose a finish that shows the wooden texture.
Carving And Shaping Steps
Making your own wooden Frisbee involves exciting carving and shaping steps. Follow these to create the perfect flying disc. Ensure all tools are ready before starting. Safety is key, so wear gloves and goggles.
Outlining The Initial Disc Shape
Select a quality wood plank. Hardwoods like maple or oak work well. Place the plank on a flat surface. Draw a circle using a compass. This will be the Frisbee size. Most standard Frisbees are about 8 to 10 inches in diameter.
- Mark the wood center well for accuracy.
- Use a band saw to cut out the disc shape. Keep outside the line to sand later.
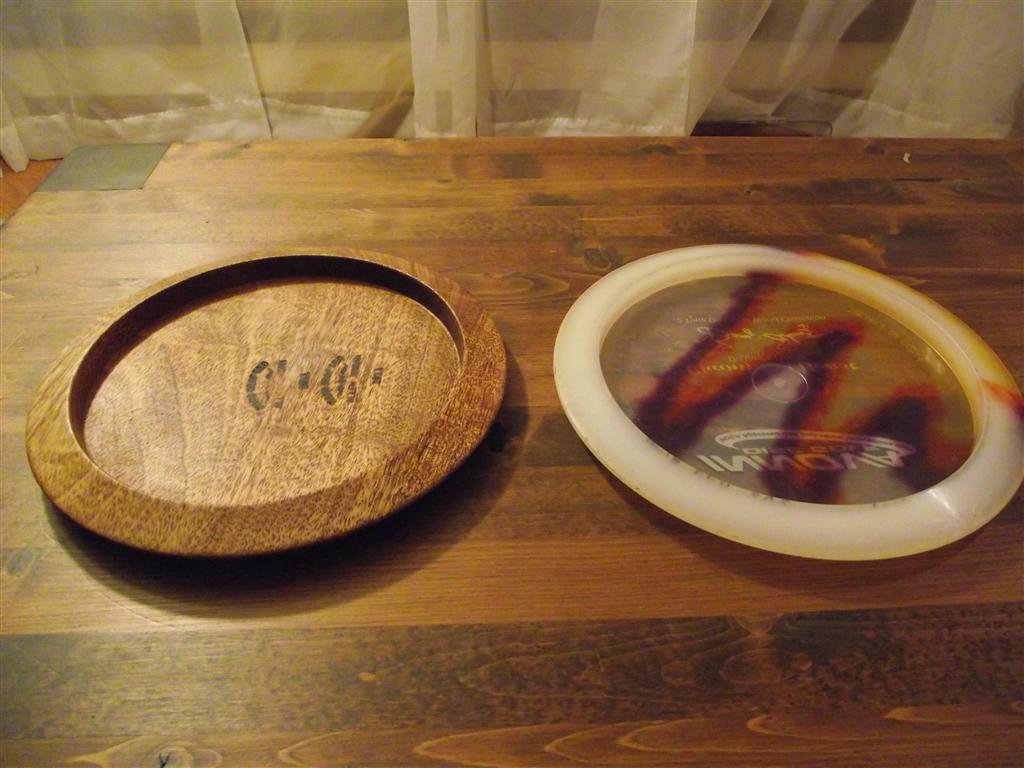
Hollowing Out For Optimal Flight
Weight and shape affect flight. The Frisbee must be balanced and aerodynamic. Hollow the disc’s underside to create a dome shape. This reduces drag and improves lift.
Steps to hollow out:
- Clamp the disc to secure it.
- Use a gouge chisel to carve a shallow groove along the disc’s perimeter. This guides further hollowing.
- Carve towards the center, gradually deepening the hollow.
- Stop frequently to check symmetry and depth.
- Finish with fine sandpaper for a smooth surface.
Tip: Check balance by balancing the disc on a finger at the center point. Adjust if needed.
Sanding And Finishing
The ‘Sanding and Finishing’ phase is crucial for a buttery smooth and durable wooden Frisbee. Sanding polishes the surface, wiping away any roughness. Finishing seals the deal, offering sleek looks and protection.
To craft the perfect Frisbee, patience and attention to detail during this stage is key.
Using Varied Grit For Smoothness
To achieve the silkiest touch, transitioning through sandpaper grits is essential. Start with a coarse grit to eliminate any glaring imperfections. Gradually move to finer grits for an ultra-smooth surface. This method minimizes scratches and prepares the wood for sealing. Follow these steps:
- Begin with a 60 or 80 grit paper to sand away any rough spots.
- Progress to a medium grit, such as 120, to refine the surface.
- Finish with a fine grit, like 220, for a smooth-to-the-touch feel.
After sanding, wipe down the Frisbee with a tack cloth to remove all dust.
Applying Sealant For Protection
A well-applied sealant shields your Frisbee from the elements. Choose a waterproof sealant such as polyurethane or beeswax for natural protection. The sealant curbs moisture penetration and keeps the wood strong during play. Apply the sealant with these steps:
- Stir the sealant gently to avoid bubbles.
- Use a clean brush or rag to apply a thin, even coat.
- Allow it to dry completely, then lightly sand with a fine-grit paper.
- Apply second and third coats, sanding in-between, for extra durability.
Always ensure good ventilation when working with sealants. Allow ample drying time for the best results.
Customizing Your Creation
Once you’ve crafted your wooden Frisbee, the real fun begins—customizing your creation! This is your chance to add a personal touch and make your Frisbee one-of-a-kind. From engravings to paints and varnishes, you have a variety of options to showcase your style and skills.
Adding Personalized Engravings
Personalized engravings turn an ordinary wooden Frisbee into a memorable piece. Using a Dremel tool or laser engraver, etch your name, a special date, or a playful design into the wood. Begin by sketching the design with a pencil, then carefully follow the lines with your engraving tool. Wear safety goggles and work in a well-ventilated area to protect yourself from wood dust.
Selecting Varnishes Or Paints
Choosing the right varnish or paint can protect your Frisbee and make it stand out. For a natural look, select a clear varnish that emphasizes the wood’s grain. If you prefer a pop of color, go for non-toxic acrylic paints. Apply paint evenly with a brush, and let it dry completely before adding a second coat. Finish with a clear sealant to keep the colors vibrant and protected.
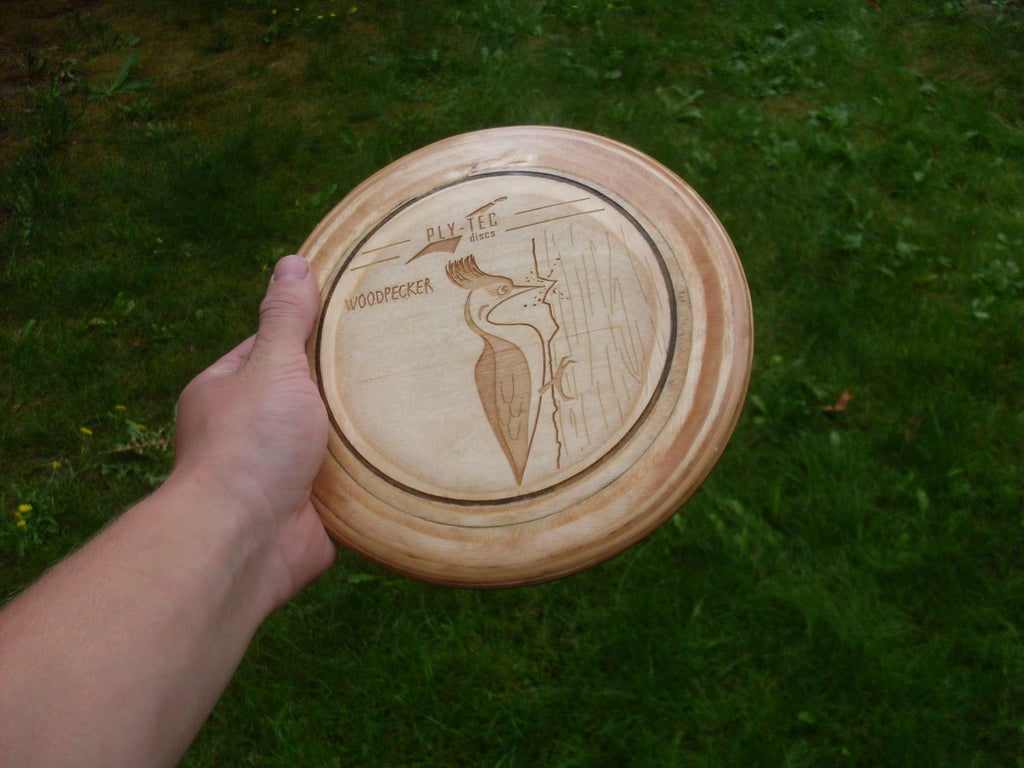
Credit: www.instructables.com
Testing And Enjoyment
After crafting your wooden Frisbee, the thrill of the first launch awaits. It’s time to test its flight and tweak for optimal performance. Flying a Frisbee that you’ve made by hand offers unmatched excitement. Let’s put that wooden wonder through its paces!
Conducting The First Throw
Grab your wooden Frisbee with enthusiasm and choose an open area, free from obstacles. Make sure to stand firmly and position the Frisbee flat in your hand. Throw it smoothly with a flick of the wrist to see how it soars. Watch its flight closely—does it glide well, or does it wobble and drop?
Making Adjustments For Performance
If your Frisbee doesn’t fly as expected, don’t worry. Small tweaks often make a big difference. Examine the angle of release and the balance of the disc. You may need to sand down one side for a more balanced throw or adjust your grip. Keep testing and adjusting until the flight matches your satisfaction.
- Check balance: Place the Frisbee on your finger at the center. See if it tilts.
- Adjust weight: If it’s off-balance, remove material carefully from the heavier side.
- Tweak shape: If it doesn’t glide well, bevel the edges for better aerodynamics.
- Practice throws: Different throwing techniques may improve flight.
As you adjust and perfect your wooden Frisbee, cherish each toss. Relish in the craft you’ve created and the joy of a Frisbee flight that’s truly your own.
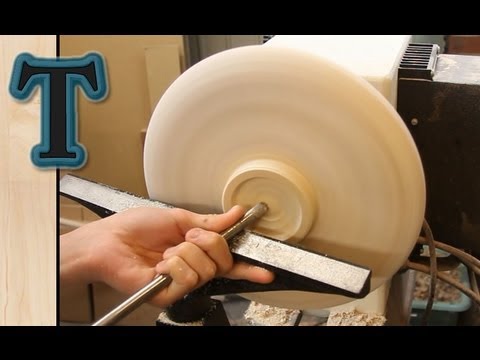
Credit: m.youtube.com
Frequently Asked Questions For How To Make A Wooden Frisbee
How Do You Make A Frisbee Out Of Wood?
Choose a hardwood and cut it into a circular shape at your desired Frisbee size. Sand the edges to create a smooth, beveled rim. Hollow out the center to reduce weight for better flight. Finish by sanding the surface and sealing the wood.
How Do You Make A Homemade Frisbee?
To make a homemade frisbee, cut out two identical circles from plastic lids or durable paper plates. Decorate as desired, then tape the two circles together around the edges for a sturdy design. Throw and enjoy your frisbee.
What Materials Are Used To Improvise A Frisbee Disc?
Common materials to improvise a Frisbee disc include plastic lids, paper plates, and sturdy cardboard. These items can be easily modified and thrown like a standard Frisbee.
Can I Make My Own Disc Golf Discs?
Yes, you can make your own disc golf discs, but they must meet the Professional Disc Golf Association’s specifications for tournament play.
Conclusion
Crafting your wooden frisbee is sure to bring hours of fun! We’ve walked through selecting the right wood, shaping, sanding, and final touches. Embrace your new creation and share it with friends. Ready to soar through the skies, your handcrafted frisbee is not just a toy but a personal masterpiece.
So grab it, head outside, and enjoy the flying wonders you’ve brought to life. Treasure these moments of joy and achievement. Happy throwing!