To build a frisbee golf basket, gather materials like metal rods, chains, and a base, then weld or attach the components together to form a sturdy structure. Begin by constructing the basket and top ring, securing the chains evenly around the perimeter, and anchoring it to a stable base.
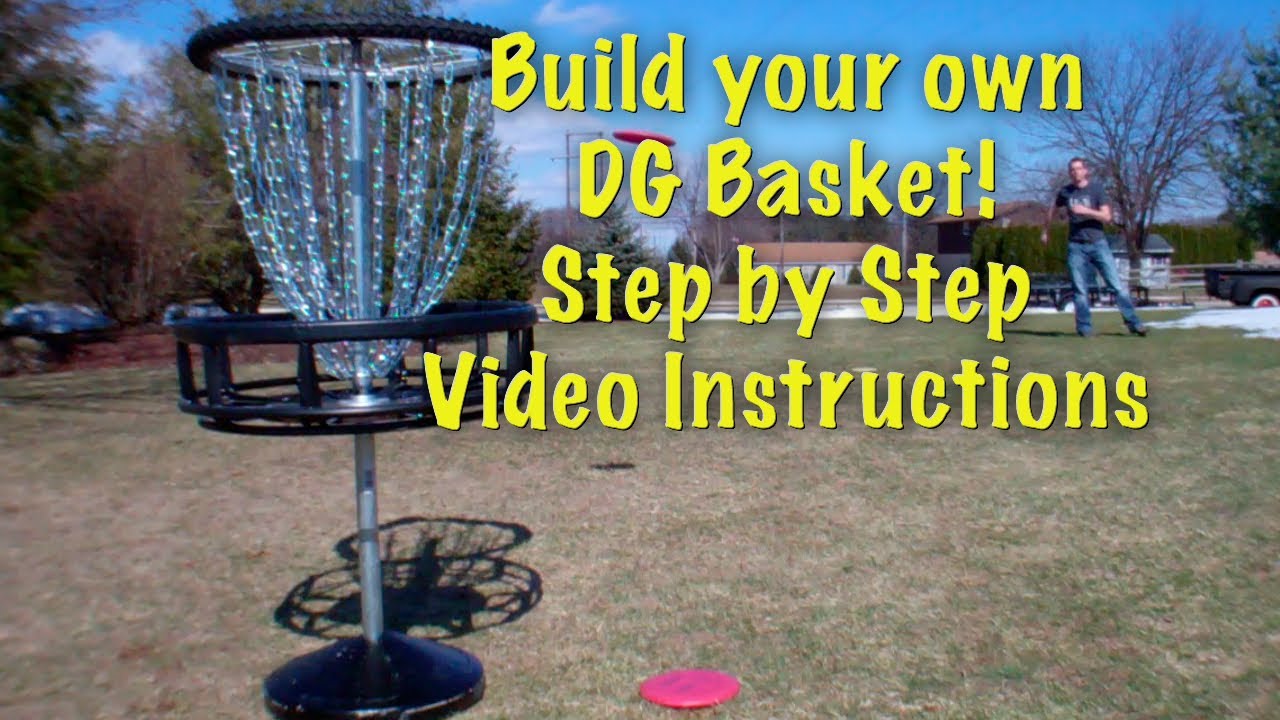
Disc golf enthusiasts often seek the thrill of the game beyond the course, and crafting a homemade frisbee golf basket is a rewarding project for them. This not only brings the fun of disc golf to your backyard but also allows for customization to suit skill levels and space constraints.
Using readily available materials, this DIY task blends creativity with functionality. It offers a cost-effective alternative to purchasing commercial baskets, delivering an authentic disc golf experience right at home. Whether you’re a seasoned player aiming to refine your putts or a hobbyist adding a unique touch to your outdoor sports collection, building your own frisbee golf basket serves as a practical and enjoyable endeavor.
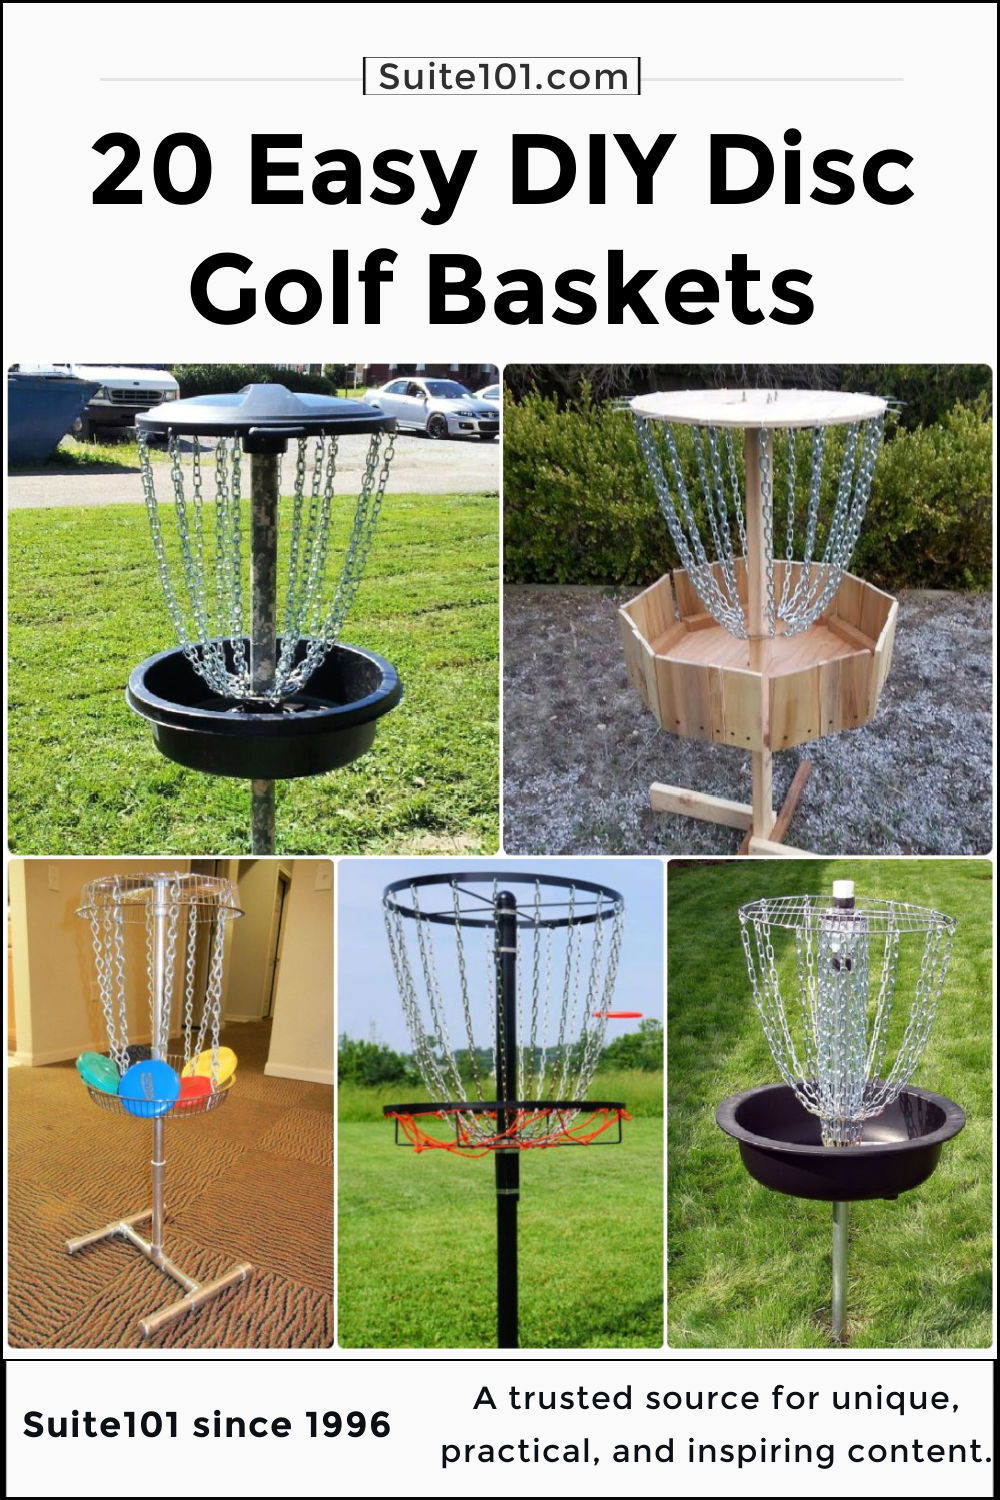
Credit: suite101.com
Essential Tools And Materials
Creating your own Frisbee golf basket can be a rewarding DIY project. Essential tools and materials are the foundation for building a sturdy and reliable basket. This section will guide you through everything you need to gather before starting your build. Pay attention to quality and specifications to ensure the best results for your game.
Gathering The Supplies
To embark on this DIY adventure, you’ll need various supplies. Below is a list of the crucial materials:
- Metal rods or pipes: for the basket’s structure and chains attachment.
- Metal chains: essential for catching the Frisbees.
- Welding wire or metal ties: to secure the chains and structure.
- Metal mesh or fencing: for crafting the basket part.
- Base material: such as plywood or metal for stability.
Quality materials lead to a durable and reliable basket, so choose wisely.
Key Tools For Construction
The right tools make all the difference in the construction process. You’ll need:
| Tool | Use |
|---|---|
| Cutting tool | For cutting rods, pipes, and fencing. |
| Welding machine | To join metal parts firmly together. |
| Screwdriver | For tightening any bolts or screws. |
| Measuring tape | To ensure accurate lengths and dimensions. |
| Level | To verify the basket stands straight. |
With these tools at hand, you’re set to build a basket that will stand the test of time.
Designing The Basket
Imagine stepping into your backyard and having your very own Frisbee golf course ready for action. Designing the basket is the first step to making this dream a reality. Let’s embark on a DIY journey to create the perfect personal basket for your disc golf adventures.
Determining Dimensions
To start, you’ll need the right size for your basket. It should challenge your aim without being too unforgiving.
- Height: A standard basket’s top sits about 52 inches off the ground.
- Diameter: The target opening typically spans 21 inches.
- Depth: Ensure a depth of 6 to 7 inches for the basket portion.
These dimensions mirror professional baskets, aiming for a consistent practice experience.
Choosing A Design Approach
Next, you must decide how to construct your basket:
| Material | Pros | Cons |
|---|---|---|
| Metal | Durable, Stable | Heavy, May Rust |
| Plastic | Lightweight, Resistant to Rust | May Break, Less Stable |
| Wood | Aesthetic, Customizable | Periodic Maintenance Needed |
Consider your environment and usage to select the best material. Availability and cost will also influence your choice.
Base And Pole Setup
Welcome to the “Base and Pole Setup” section of our DIY Frisbee Golf Basket guide. Before your disc soars through the air, it’s essential to have a rock-solid foundation and a sturdy pole. Let’s dive into building a base that won’t budge and mounting a pole that stands tall.
Constructing A Stable Base
The base ensures that your Frisbee golf basket stands firm. Begin with materials strong enough to endure the elements. Here is a step-by-step guide:
- Choose heavy material like metal or wood for durability.
- Cut to size keeping in mind the final basket height.
- Assemble the base using screws for metal or nails for wood.
- Ensure the base is wide and evenly-weighted.
Use these dimensions for reference:
| Material | Size | Quantity |
|---|---|---|
| Metal Plates/Wooden Boards | 24 inches x 24 inches | 4 |
Pro Tip: For added stability, consider attaching a weighted ring to the base.
Mounting The Pole
With a steady base, the next step is mounting the pole. This will support the chains and basket.
- Choose a pole about 54 inches tall.
- Attach the pole to the base using bolts or brackets.
- Ensure the pole is perfectly vertical.
- For added support, weld the pole in place if using metal.
Final Tip: Always double-check for sturdiness and alignment after mounting.
Creating The Catching Mechanism
If you’re excited to craft your very own frisbee golf basket, a crucial element is the catching mechanism. This is what stops the frisbee in its tracks and confirms a successful throw. Below, discover how to create a robust and reliable catching mechanism in simple steps.
Forming The Basket Ring
A strong basket ring is essential for a sturdy frisbee golf basket. Start by measuring and cutting a metal ring to the desired size. Typically, a diameter of 21.33 inches is perfect, aligning with official dimensions.
- Select metal tubing of appropriate thickness.
- Measure and mark the required length on the tubing.
- Use a pipe bender to curve the tubing into a full circle.
- Weld the ends together to close the ring securely.
Ensure the ring is free from sharp edges by sanding down any rough spots. This step will make the basket safe to handle and preserve the frisbees.
Attaching The Chains
Chains play a major role in absorbing the impact of a thrown frisbee. They need to be distributed evenly around the basket ring.
- Drill equally spaced holes along the metal ring.
- Cut 18 lengths of heavy gauge chain for standard design.
- Secure the top end of each chain to the ring with S-hooks or similar fasteners.
- Let the chains hang loosely to create a grid that will catch the frisbee.
- Connect the bottom ends of the chains to a smaller ring at the base to maintain stability.
The chains should feature a soft metal or coating as this helps to cushion the frisbee’s landing and prevent bouncing. Test the mechanism by throwing a frisbee at it to ensure it catches effectively and consistently.
The Deflector And Chain Assembly
Building a sturdy and well-functioning Frisbee golf basket starts at its heart — the deflector and chain assembly. This essential component ensures a flying disc is accurately caught, preventing frustrating ‘bounce-outs’. Let’s walk through the steps for assembling the deflector and securing the chains, transforming your Frisbee golf setup into a pro-level course!
Assembling The Deflector
The deflector is the top part of the Frisbee golf basket. It guides discs into the chains and basket below. Follow these steps:
- Cut the metal – Ensure the deflector ring is the correct diameter, typically about 21.3 inches.
- Drill holes – Evenly space and drill holes around the deflector ring for chain attachment.
- Prepare the deflector cover – Cut a metal sheet or sturdy canvas to cover the deflector frame.
- Attach the cover – Secure the cover to the frame with bolts, or for canvas, durable zip ties.
Securing The Chains
The chains are crucial for stopping and catching the disc. Here’s how to secure them:
- Prepare chain lengths – Cut 18 chains for a standard basket, each around 20 to 24 inches long.
- Attach to deflector – Use S-hooks or quick links to attach one end of each chain to the deflector’s drilled holes.
- Arrange evenly – Ensure chains are spaced evenly for optimal catching potential.
- Fix bottom ends – Connect the loose ends to the basket ring below, ensuring the chains hang with slight slack.
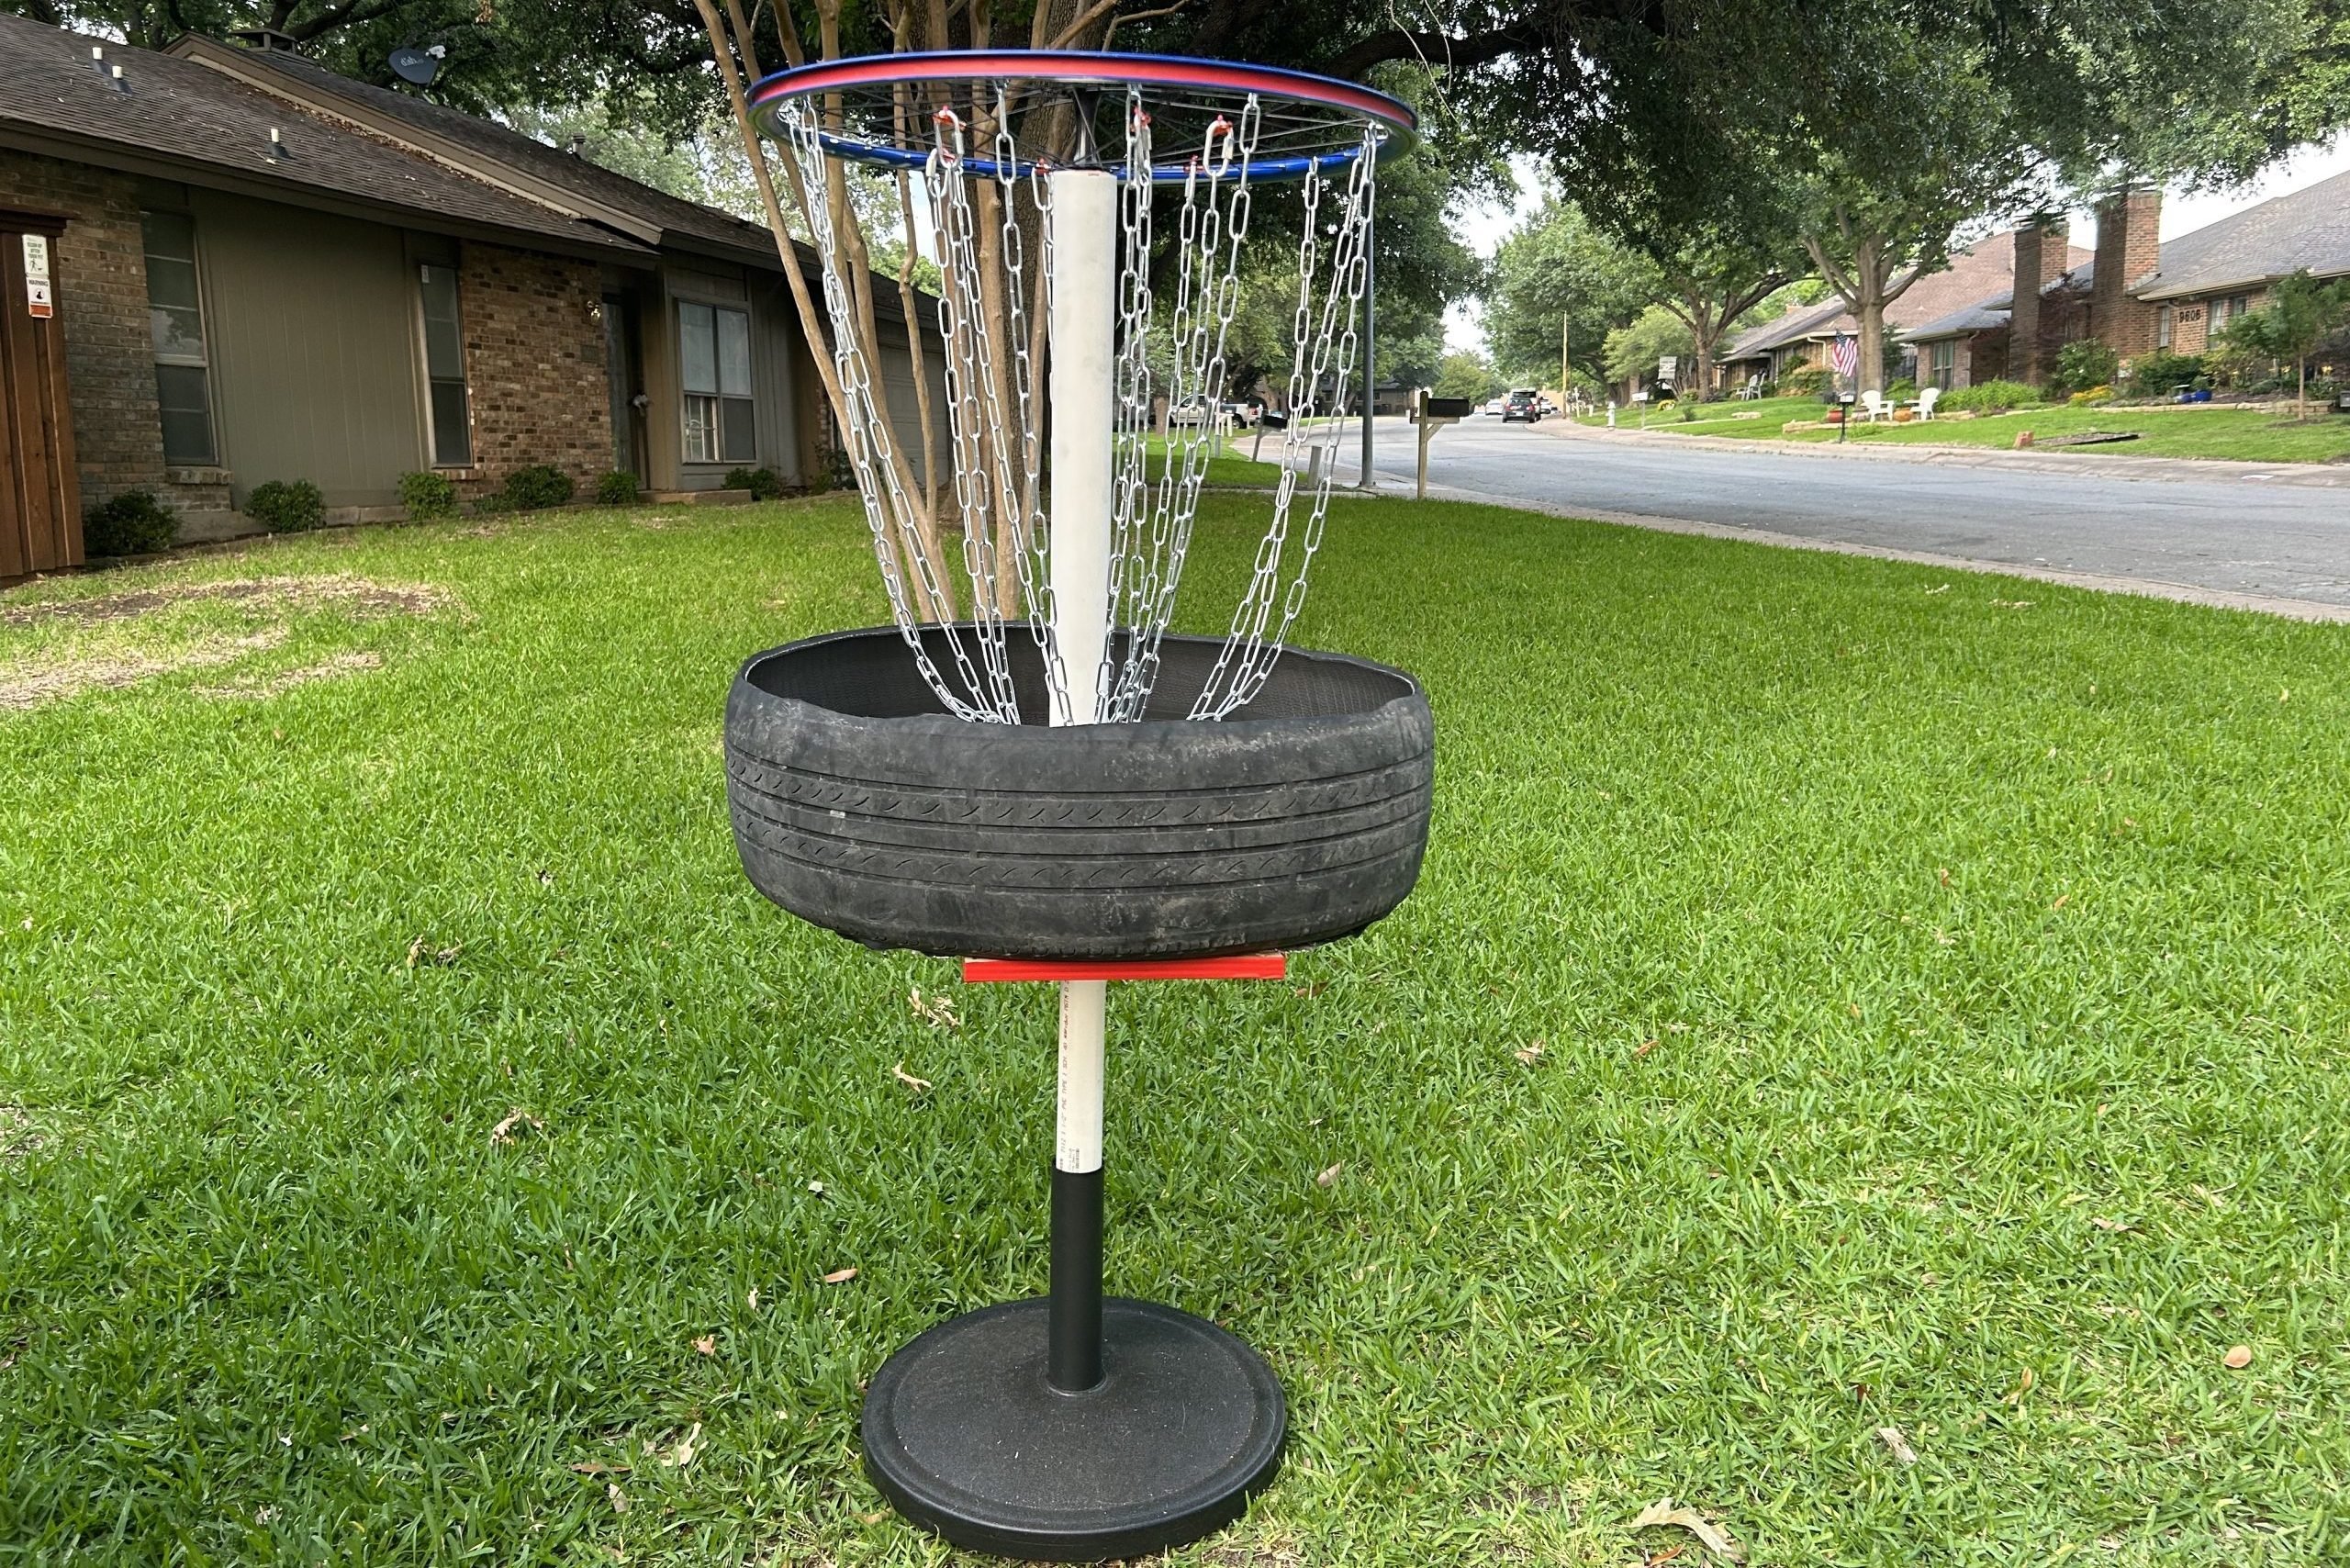
Credit: www.familyhandyman.com
Finishing Touches
The creation of your frisbee golf basket isn’t complete until you add the final flourishes. These finishing touches not only enhance the look but also ensure your basket’s longevity and safety. Focus on painting and decoration, followed by the critical safety and durability checks.
Painting And Decoration
Adding color and designs to your frisbee golf basket transforms it from functional to fabulous. Use weather-resistant paint to protect against the elements. Consider bright colors for visibility or blend with the environment for a natural look.
- Select a primer that prevents rust and applies it evenly.
- Choose your main color and apply two coats for a solid finish.
- Use stencils or freehand decorative elements for personality.
- After painting, allow it to dry completely before moving on.
Safety And Durability Checks
Your basket should be safe for players and last for many games. Perform comprehensive checks to ensure everything is secure.
- Inspect welded joints for solid connections with no weakness.
- Ensure the basket is firmly attached to the pole and stand.
- Test the stability of the base to avoid tipping over.
- Check that chains are fastened tightly with no loose ends.
| Component | Check | Status |
|---|---|---|
| Welds | No cracks or rust | ✅ |
| Base | Stable and level | ✅ |
| Chains | Evenly spaced, secure | ✅ |
Installation And Testing
Now that your Frisbee Golf Basket has taken shape, it’s time to make it stand firm and ready for action. Proper installation and testing are crucial to ensure your homemade basket is both safe and enjoyable. Follow these steps to anchor your basket to the ground and test its functionality before hosting your very own Frisbee Golf game.
Ground Anchoring
Anchoring your basket firmly to the ground prevents it from tipping over during play. Here’s how to do it:
- Choose a level spot on your lawn or garden for the basket.
- Mark the ground where the base of your basket will sit.
- Dig a hole about 6 inches deep at the marked spot.
- Place the basket in the hole and fill it with quick-setting concrete for a permanent setup or use a metal sleeve for a temporary placement.
- Ensure the basket is upright and stable before the concrete sets.
Ensuring Proper Function
Once the basket is securely anchored, we need to test its function:
- Check all connections and welds to ensure they’re tight and secure.
- Toss a disc from various distances to make sure it catches properly.
- Listen for any unusual noises that could indicate loose parts or damage.
- Make any necessary adjustments to the chain’s tension or the basket’s alignment.
Testing your basket is not only about functionality but also about fun. Invite friends for a playful round and watch how your DIY project brings joy to the game. With your basket set up and tested, you’re now ready to enjoy endless hours of Frisbee Golf!
Credit: www.reddit.com
Frequently Asked Questions Of How To Build Frisbee Golf Basket
Can You Build Your Own Disc Golf Basket?
Yes, you can build your own disc golf basket by using metal rods, chains, and a welding or fastening method to assemble the components.
How Much Does It Cost To Build A Disc Golf Basket?
The cost to build a disc golf basket typically ranges from $60 to $150, depending on materials used.
How Many Chains Are In A Disc Golf Basket?
A disc golf basket typically features 12 to 24 chains arranged in an inner and outer configuration for catching discs.
How Do You Set Up A Disc Golf Basket?
To set up a disc golf basket, follow these steps: Choose a level area and prepare the ground. Assemble the pole and base as per instructions. Attach the basket section to the pole. Secure the disc-catching chains to the top assembly.
Ensure stability by properly anchoring the basket into the ground.
Conclusion
Crafting your own Frisbee golf basket can be a rewarding DIY project. With a few simple materials and a dash of creativity, you’ve learned it’s possible to create a functional and sturdy basket. Remember, practice makes perfect for both building and playing.
Embrace the challenge, share your creation with friends, and enjoy endless hours of outdoor fun. Get ready to aim, toss, and score with your hand-built Frisbee golf basket!